What is Wood Flooring?
Wood flooring refers to permanent surfaces made of hardwood, engineered woods, and also comprises types of materials such as laminates and bamboos. Being unique in its beauty, durability, and strength, hardwood flooring adds charm and versatility in modern homes and styles of interiors.
Where Can You Install Wood Flooring?
Wood flooring can be installed in different living areas like living rooms, bedrooms, home offices, and even dining areas. Avoid moisture-prone places like bathrooms except when moisture-resistant materials are used. Engineered hardwood floors sealed properly work best in basements to prevent water-related damages.
How to Install Wood Flooring?
Learning how to install wood flooring, which comprises selecting the method, preparing the surface, and executing with utmost care. Whether opting for nail-down or floating, planning layout and proper technique really do matter when you want your hardwood floor to last.
Choose the Installation Method

The four methods of installation are nail-down, glue-down, staple-down, and floating. The best application should depend on the subfloor type as well as the woods used. For example, click-lock is the friendliest toward do-it-yourselfers; nail-down works best for hardwood flooring installed over wood subfloors.
-
Glue-down Installation
Glue-down installation is more common to engineered hardwood flooring. Hence its good tightness to subfloor surfaces brings about less movement and much improvement in room acoustics. This is a good method for any learner on how to install hardwood floors in busy or highly trafficked areas.
-
Nail-Down Installation
Nail-down is simply the classic, simple, and very inexpensive method to use on hardwood floors because it needs a wooden subfloor over which nails can insert tightly into. This is also the method of ensuring that the hardwood floors are very durable, which one explores when learning how to install hardwood flooring professionally.
-
Staple-Down Installation
This method just applies staples instead of nails, which is advisable for proper thinner wood flooring or engineered planks. It is DIY-friendly but not for dense hardwood floors since many of them get cracks when staple force is applied, especially with exotic wood types.
-
Floating Installation (Click-Lock)
The Floating method locks planks without glue or nails, hence it is the simplest method and requires no tool. Popular in DIY projects, it’s perfect for those curious about how to lay wood flooring easily and with less technicality involved, they may go through with this.
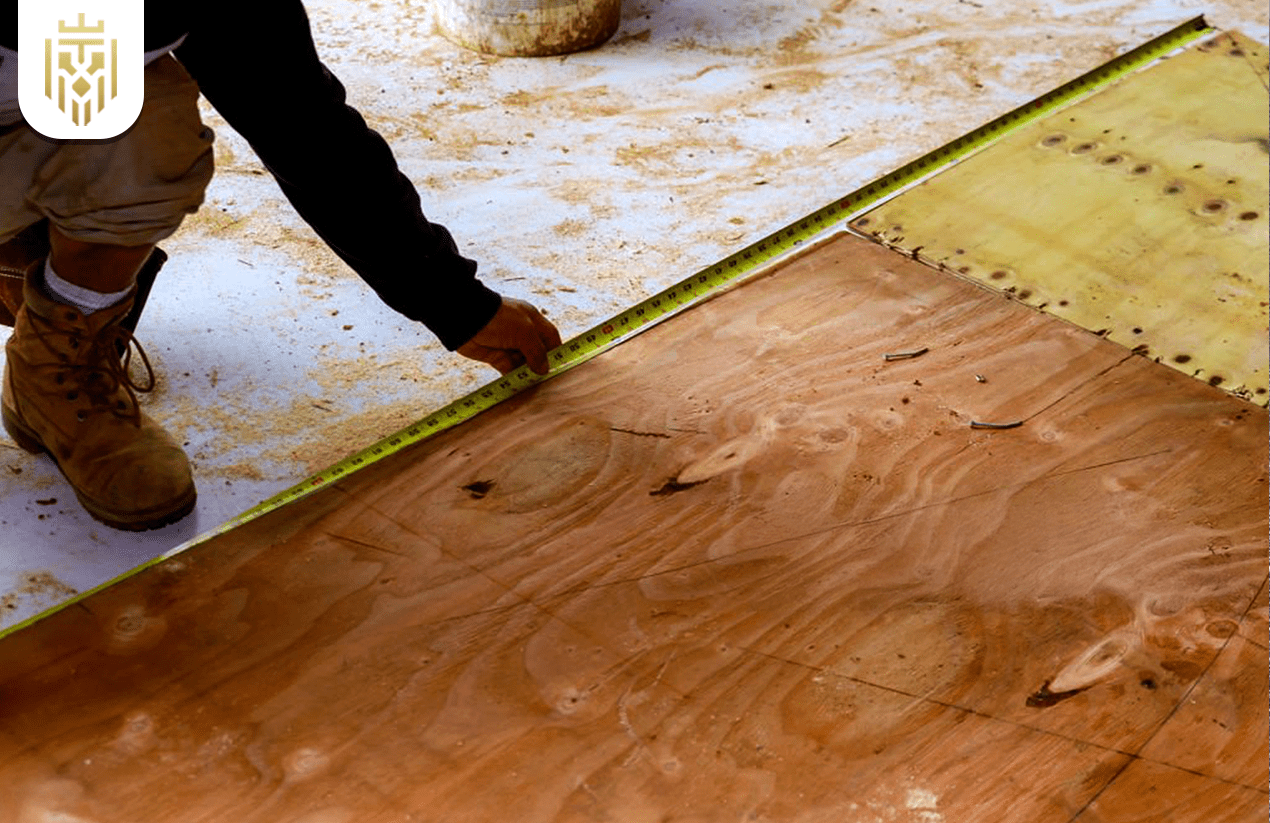
Prepare the Sub Floor

For wood flooring, prepare and ensure subfloors are clean, level, and dry. Install vapour barriers or other underlayments as required. Proper surface preparation speeds installation while promoting the longevity of your hardwood floors.
Acclimate the Wood
Before actually installing hardwood flooring, acclimatise the planks by opening up their boxes and placing them in a room for 48-72 hours. This ensures expansion problems are avoided and is essential for maintaining floor stability after planning layout and installation.
Plan the Layout
Accurate planning layout is vital for finishing a space tidy; measure the room, lay the planks parallel to the longest wall, and do a dry run. Avoid narrow end planks whilst enhancing the look of the room by accurate laying of the wood.
Install Underlayment (if needed)
If necessary, install underlayment that fits your subfloor type and the type of flooring itself. Lay it in the direction of your choice and then go ahead to overlap seams and tape them. Make sure the vapour barrier faces up and leave spaces along the walls for hardwood flooring to expand naturally.
Begin Installation
To start installing wood floors, lock the boards in place starting from the longest wall and staggering your joints. These preliminary steps provide a foundation on which these floorings will remain aligned, avoiding any movement from the hardwood flooring completion onward.
-
Start Along the Longest Wall
Begin laying the hardwood floor along the longest wall, perpendicular to the joists for good structural support and visual congruency. To start strong helps with the integrity of the entire planning layout even in slightly uneven rooms.
-
Lock the Boards in Place
Join each board by inserting its tongue into the groove of another and folding it down to secure. Use spacers for expansion gaps. This step ensures tightly fitted wood flooring and helps in achieving smooth transitions across the whole room.
-
Stagger the Joints
Staggering the end joints by at least 6-10 inches gives improved strength and a naturally random look to your wood flooring: It also helps transfer loads evenly across the floor, a key detail when planning how to lay wood flooring effectively.
Continue Laying the Flooring

Continue laying wood flooring, row by row, locking the planks tightly, and placing spacers for uniform expansion gaps. Consistently stagger the joints for structural support, especially in wide or open areas with heavy accrued hardwood flooring traffic.
Install the Final Row
Use straight boards and careful prying in not to fit near the wall by the nailer. Blind-nail the last few rows of the hardwood floors, and face-nail the last few. This is an important step in finishing the wood flooring installation.
Finish the Installation
Final steps of wood floor installation entail removal of spacers and the installation of mouldings. These fixtures seal the gaps, protect the walls, and impart a clean and professional outlook to your newly laid hardwood floors.
-
Remove Spacers
After that, safely removing the wall spacers from the installed hardwood flooring secures the expansion gap. Preventing buckling and thus allowing final molding to be installed is the very last move in one successful how to install wood flooring classic.
-
Install Molding
Adhesive is utilized for attaching molding that has been pre-drilled with nails to avoid splitting. Ensure that the molding will allow for expansion of the hardwood floor. This last touch is the icing on the cake. Your wood flooring is beautifully finished.
FAQs
1) What is wood flooring?
Wood flooring refers to permanent surfaces made of hardwood, engineered woods, and also comprises types of materials such as laminates and bamboos. Being unique in its beauty, durability, and strength, hardwood flooring adds charm and versatility in modern homes and styles of interiors.
2) How to install wood flooring?
Learning how to install wood flooring, which comprises selecting the method, preparing the surface, and executing with utmost care. Whether opting for nail-down or floating, planning layout and proper technique really do matter when you want your hardwood floor to last.
3) Where can you install wood flooring?
Wood flooring can be put in living rooms, bedrooms, and offices. Avoid wet areas like bathrooms unless using moisture-resistant materials with proper sealing.
4) How long does wood flooring installation take?
Wood flooring installations usually take somewhere between 2 and 5 days, depending on room size, condition of the subfloor underneath, installation process, and whether acclimation is done first before the process begins.