How to Change a Shower Head?
Changing a shower head is a simple task that can instantly improve your bathing experience. With the right tools and a step-by-step approach, the process can be done in minutes without professional help.
Gather required tools and material
Some essentials plugged in: an adjustable wrench, plumber’s (Teflon) tape, a cloth, and the new shower head. Such readiness ensures that the work will in no way halt halfway through. A bucket or towel on the floor goes a long way in catching any residual water. Having everything needed right by you makes the switching in a snap.
Turn Off the Water
Turn off the water supply prior to the start of the procedure, be it the main water supply or the bathroom’s water valve. This prevents the unwanted spraying of water and grants you more control when removing the old shower head. It will also prevent any accidental flooding should the fitting be damaged. Double-check that no water is running from the tap before going any further.
Remove the Old Shower Head
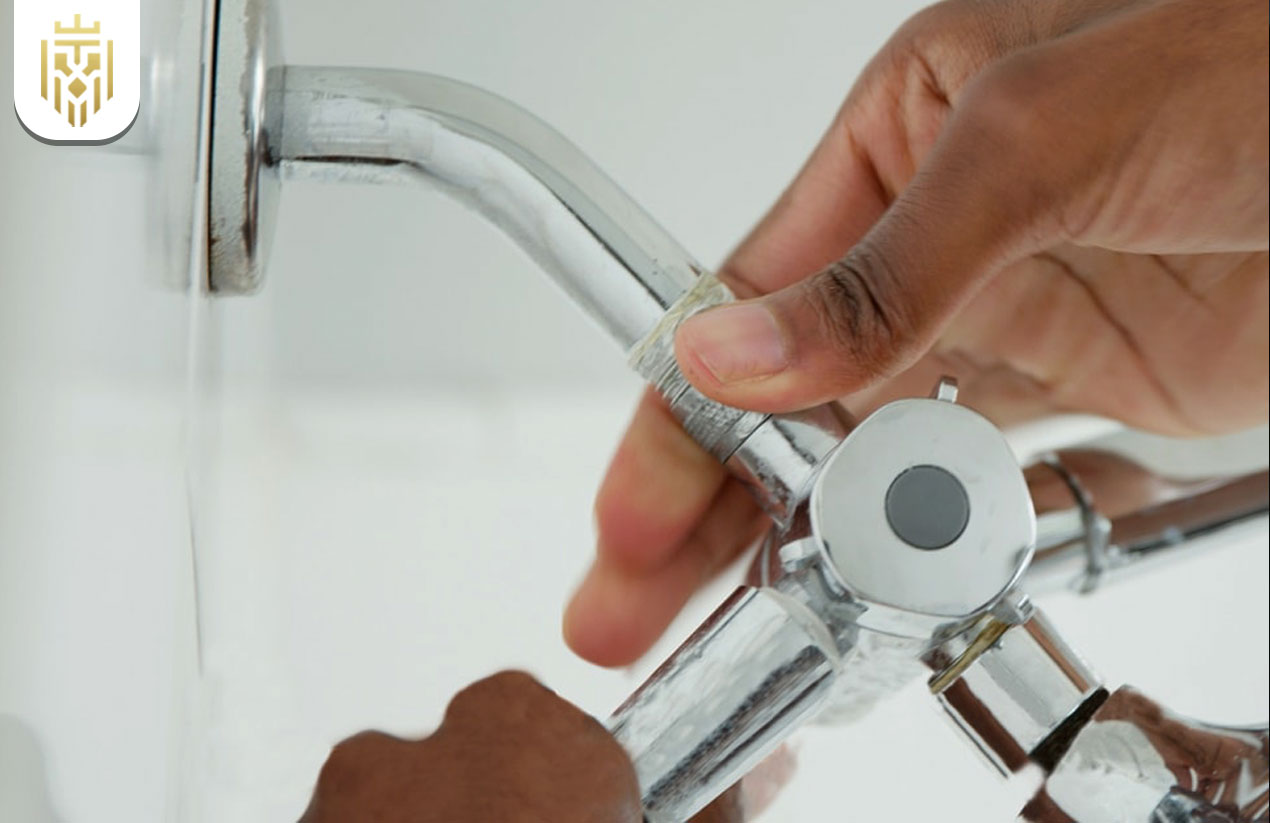
Grip the shower head with your hand and turn it counter clockwise. If it happens that it is too tight, construct a little extra leverage by wrapping a rag around it and using a wrench, protecting the finish in the process. This is the stage where patience should rule, as older heads usually take some time and effort. Once it comes off, set it aside in a way that prevents it from causing surface scratches.
Clean the Shower Arm Threads
Old or improperly applied plumber’s tape, rust, or hard-water deposits may have gotten in the way of the proper sealing of the new head, so using a damp cloth to clean the threads will ensure that the two will be properly joined without leakage once installed. The plumber’s tape will also have something absorbent to which it will adhere.
Apply New Plumber’s Tape
The tape is to be wrapped around the arm threads from two to three layers and should always be wrapped around and pressed firmly in the direction of tightening (clockwise), so that the effect will not be reversed when the new head is screwed on. Also, keep in mind that an even, smooth wrapping will avoid gaps that could later allow leaks.
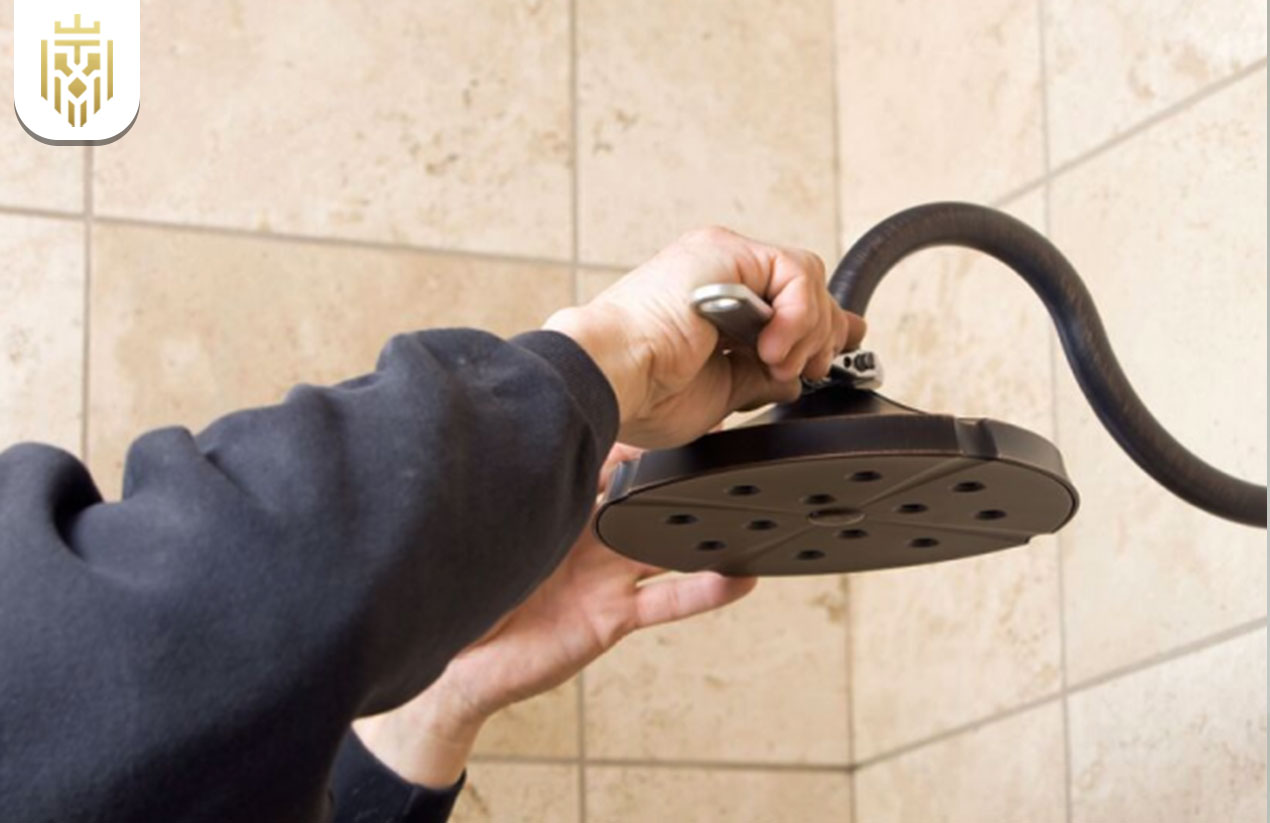
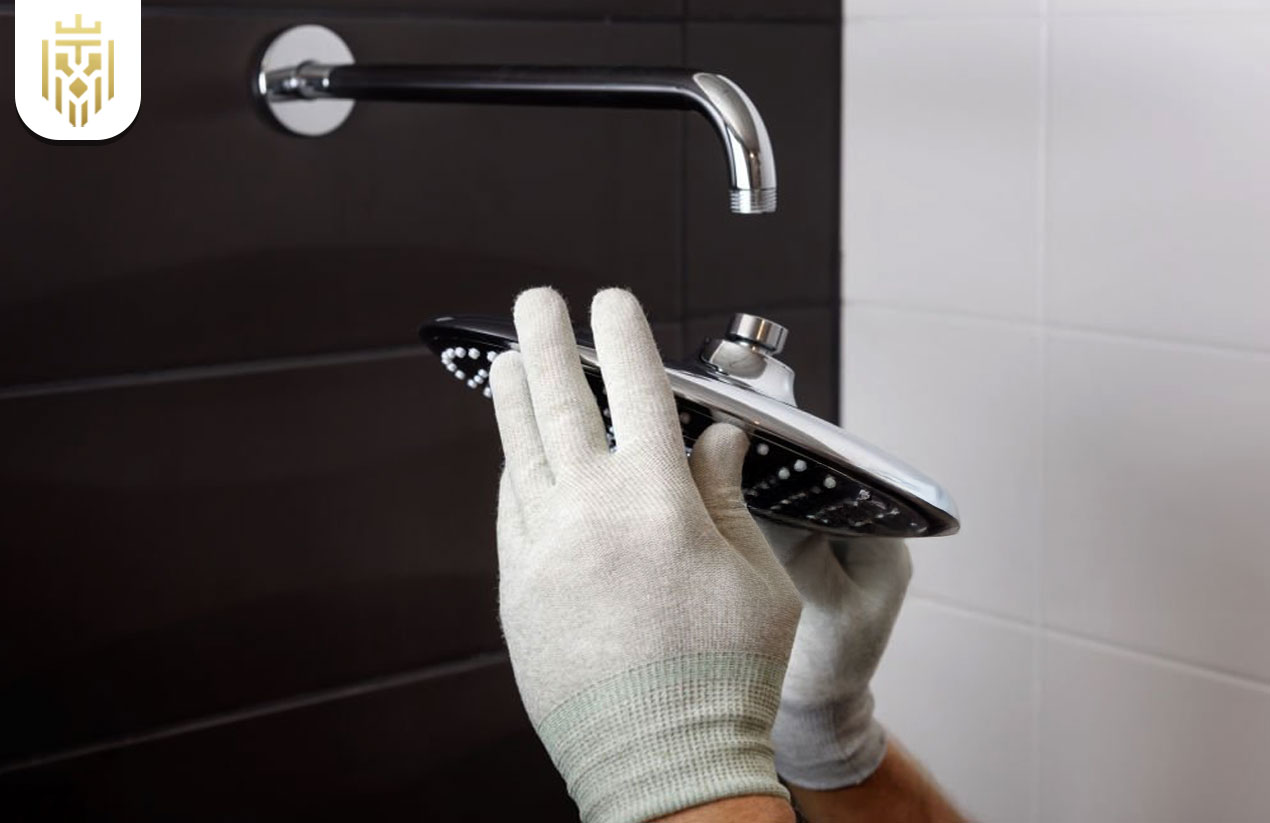
Attach the New Shower Head
Screw the new head on by hand, ensuring that it feels tight, and only if necessary give it that last tightening with a wrench. Be careful not to overtighten it; fits could be cracked! Adjust the angle of the head with installation. Ensure the spray direction is suitable for the shower’s height and layout.
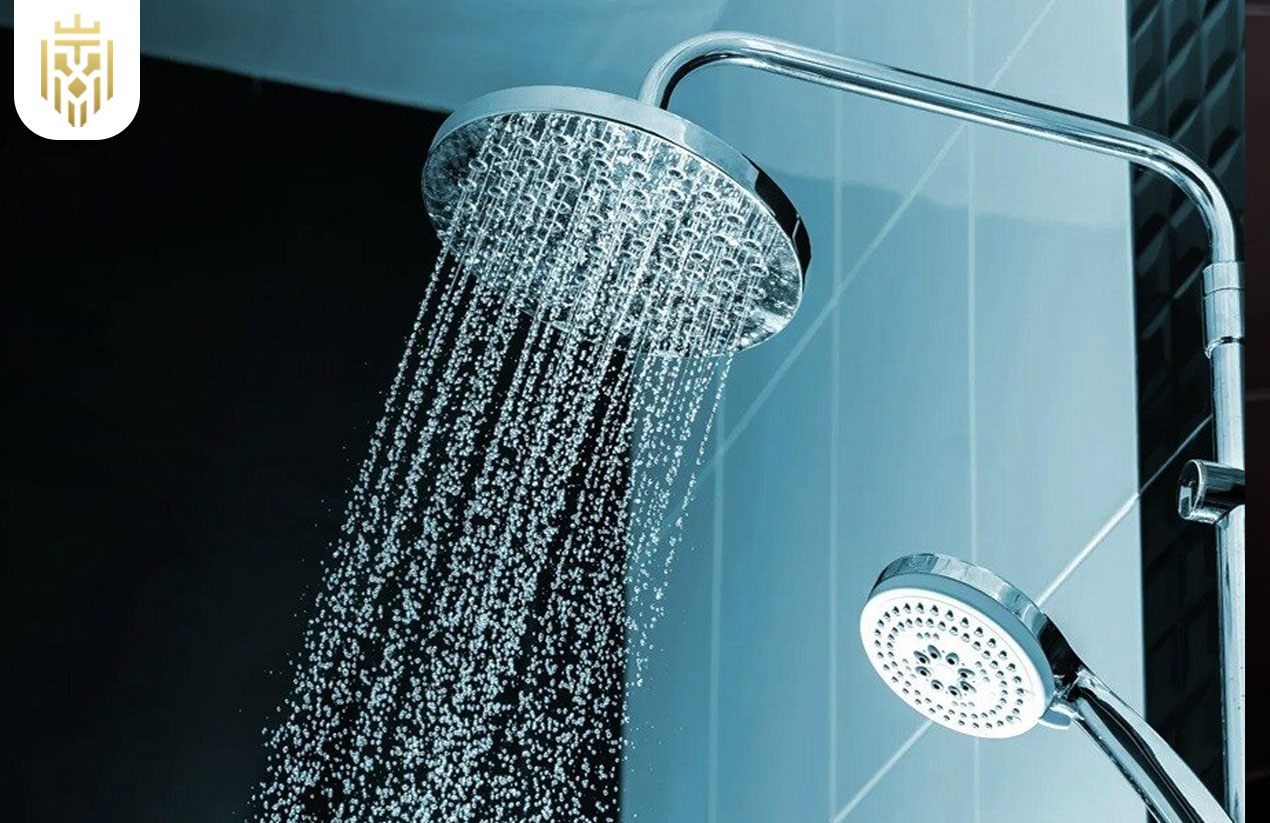
Turn on the water & Check for Leaks
Once the head is secure, slowly turn the water back on. Test different spray settings, and if any water seeps out at the joint, remove the head, add more tape, and reinstall. Always check both hot and cold water flow to confirm a proper seal. Running the shower for a few minutes is the best way to verify everything is working smoothly.
How to Replace a Shower Head Arm?
Sometimes, the arm holding your shower head may also need replacement. Replacing it is slightly more involved but still manageable for homeowners.
Turn Off the Water
Cutting off the water should prevent accidental sprays when the arm is being detached. This also minimizes the possibility of loosening other plumbing connections. Such a precaution will work to save you time and mess later. Double-check the taps before starting that no water is left in the line.
Remove the Shower Head
Unscrew the shower head and put it away until you start working on the arm. It makes shower arm removal a bit easier and keeps the fixture from being damaged. Put it somewhere safe so that it does not get scratched. Wrapping it in a towel serves as extra protection.
Remove the Old Shower Arm
Take hold of the extended arm and turn it counterclockwise until it loosens from the pipe. If the arm does not come off easily, try twisting while gently shaking it, but do not use force or you could crack the tiles or fittings around. This is the time to use your rag with the wrench to loosen those stubborn parts. This step should be done carefully in order not to damage the plumbing behind the wall.
Clean the Threads Inside the Wall
Check the wall fitting for any old tape or dirt and rust. Cleaning this area means the new arm will go on smooth and will not leak later. A small brush or cloth would do the job. A good cleaning also helps increase the life of the new fittings.
Apply Teflon Tape to the New Arm
Wrap the threads with plumber’s tape, keeping it tight and even. This small step greatly reduces the chances of leaks. Ensure the tape covers all exposed threads without overlapping too much.
Install the New Shower Arm
Insert the taped end into the wall fitting and screw it in carefully. Make sure it is perfectly straight and angled down for the shower head. It is best to hand-tighten as much as possible, only resorting to the wrench for the last few turns.
Reattach the Shower Head
After making sure the shower arm is good and tight, go ahead and install the shower head, following the same process as for the removal. Ensure that the head is correctly facing, so it will be comfortably used. Take an extra minute to confirm it is pointing in a way that will provide full water coverage.
Test for Leaks
Turn on the water supply and check for leaks at the wall and shower head. Any leaks should be fixed by tightening the connection gently or reapplying the plumber’s tape. Let the water run for a few minutes to make sure.
Why Replace Your Shower Head and Arm
Over time, shower heads and arms wear out, causing issues with water flow, leaks, or style. Replacing them improves both functionality and bathroom aesthetics.
To Improve Water Pressure
Water pressure usually decreases with older heads by virtue of mineral deposition. Replacing it will restore pressure and give you a refreshing, powerful shower. It also ensures water pressure is uniformly distributed over all sprays. With greater pressure, it also lessens the shower time, saving water and energy.
Save Water and Reduce Bills
Created with newer technologies, contemporary shower heads allow for strong sprays with low water use, thus making use cheaper while not diminishing comfort. Therefore, in the long run, they are a beneficial investment. Some models go as far as being certified for water efficiency.
Upgrade Bathroom Style
Chrome, matte black, brushed nickel, are the kinds of available finishes that could immediately update the space. New head and arm could be the perfect design uplift even for an aging bathroom. A small change such as this could lend it a luxurious feel without undertaking the complete renovation.
Prevent Leaks and Water Damage
A worn-out arm or head can drip constantly, causing mould or wall damage. Replacing them ensures a watertight setup. This not only protects your bathroom but also adds to the overall value of your home. Early replacement also helps avoid costly structural repairs later.
To Remove Rust and Mineral Build-Up
Rust and scale not only look unattractive but can also make water unsafe. New parts provide cleaner, healthier water flow. They also last longer and require less frequent cleaning. Plus, they improve the overall hygiene of your bathroom environment.
When to Replace Your Shower Head and Arm
Knowing when to replace your fixtures helps avoid long-term problems. Look for the following signs before deciding.
Shower Head or Arm is Rusted
Rusting causes a metal to lose its strength, thereby permitting leakage within the wall. When rusting is evident, the head and/or arm must be replaced. One keeps oneself late for replacement when there is the formation of unseen damage from water. Rust-resistant newer materials such as stainless steel and brass shall provide a longer alternative.
Water Flow is Uneven
The spray is weak, irregular and clogged. Cleaning does nothing to fix the problem; the head is simply unto its last legs. A new shower head and water flow becomes consistent instantly. Also, installation will make sure that the newer water-saving features are compatible.
Loose or wobbly arm
A wobbling arm pulls on the joints and causes leakage within the walls over time. Replacing it is a good and cheaper way to avoid bigger repairs later. The arm needs to be sturdy so that the life of your fittings can be extended, and also for gratification and safety of the everyday user.
When the Shower Head Frequently Clogs
Hard water often causes repeated clogs that cleaning cannot fully solve. Installing a new fixture provides a fresh start with smoother performance. It also helps maintain proper hygiene and efficiency. Choosing a clog-resistant model reduces future maintenance efforts.
FAQs
1) What are the benefits of replacing a shower head or arm?
Water pressure gets improved with replacement. Also, the shower head/arm could have developed leaks, the inside of the wall could have started to erode, or it could be an aesthetic need. Also, it is a water-saving change.
2) How to Replace a Shower Head?
Take off the old shower head by unscrewing it, clean the threads, put plumber’s tape on the arm, and screw on the new one. After installation, pour some water down the head to check for leaks and ensure the seal is proper.
3) How to Replace a Shower Head Arm?
First, remove the shower head, then unscrew the old arm from the wall fitting. Apply Teflon tape to the replacement arm, fit it carefully, and then attach the head before testing for leaks.
4) How to prevent leaks when installing a new shower head or arm?
Always clean the threads thoroughly and use plumber’s tape for a secure seal. Hand-tighten first, then use a wrench only if needed to avoid damaging the fittings.