What Is Drywall Tape?
In plasterboard or drywall installation, tape serves the specific purpose of concealing the joint between two boards. Seams are left exposed in the absence of it, and these would definitely show some cracks or gaps after the wall has settled. It removes the need for extensive sanding in achieving a seamless surface that is ready to be decorated.
Drywall tape serves the singular purpose of reinforcing seams so that the finished wall looks smooth and professional, and it is made of varying materials to suit different applications.
Importance of Drywall Tape
A wall is only as strong as the joints holding it together. Drywall tape ensures those joints remain solid and resistant to damage.
Strengthens Drywall Joints
Drywall sheets cannot maintain their structure without some form of support at the seams. Taping provides that support, turning individual panels into one cohesive surface. Such strength is especially needed in places that experience either movement, shaking, or frequent use.
Prevents Cracks and Gaps
If drywall moves even a bit due to a change in temperature or moisture, the edges tend to crack if left untreated. Taping treats those cracks by clearing the gap and providing a foundation that joint compound can stick to. The end result is a longer-lasting wall system with reduced maintenance.
Creates a Smooth, Seamless Finish
Tape is primarily used to produce a smooth finish on the walls. When it is mudded, the joint tapes blend with the wall. This makes the wall smooth and easy to paint, wallpaper, or decorate with no visible lines or blemishes.
How to Repair Drywall Tape?

Over time, tape may bubble, crack, or loosen, but the good news is it can be repaired. With the right steps, you can restore both strength and appearance.
Gather required tools and material
Start by gathering a utility knife, taping knife, sandpaper, joint compound, and replacement tape. When you have everything at hand, not only will the process be less frustrating, but the end result will also be far more professional.
Identify the Damage
Take a look at your walls and check for tape that has bubbled, torn, or is loose. By identifying and assessing all the damaged areas, you’ll be able to resolve a problem that could be worse in the future. Equally important is looking at the surrounding areas for any additional cracks or uneven edges.
Remove the Damaged Tape
Using a scraper or a utility knife, cut out the damaged sections of tape. Trying to remove only a part of the loose tape and materials does not work well, as it is easier to try and eliminate all of it. Clearing the tape and materials out ensures that the tape and compound that adhere to the area later are not defective.
Prepare the Surface
Scrape off any old mud and dried dust from the joint to clear the area after the removal of the old tape. Old tape and mud sitting on the surface create lumps which can be avoided by cleaning the area. A little dust is removed by wiping the tape area with a damp cloth to ensure the joint is clean.
Apply a Base Coat of Mud
Using a taping knife, apply a thin, uniform layer of joint compound along the joint. The quality of the first coat matters a great deal, as new tape will adhere to it. A smooth and bubble-free coating makes tape application easier.
Install the New Drywall Tape
Place the new tape over the tapered joint, pressing it gently into the tape compound, ensuring it remains centred. Use the knife to smooth the tape and remove any air pockets and excess compound. Once embedded, the tape will remain attached after finishing the wall.
Apply the Second & Final Coat
When the first coat has completely dried, apply a second coat over the tape. This coat should be wider than the first to blend the edges and cover more of the surrounding wall. Apply a thin, final coat so the surface stays even in preparation for sanding.
Sand the Surface
Use fine-grit sandpaper to gently sand the area after the compound has dried. The goal is to make the surface smooth while protecting the tape from being exposed due to over-sanding. A well-sanded repair will be invisible once the wall is painted.
Tips for a Perfect Drywall Tape Repair
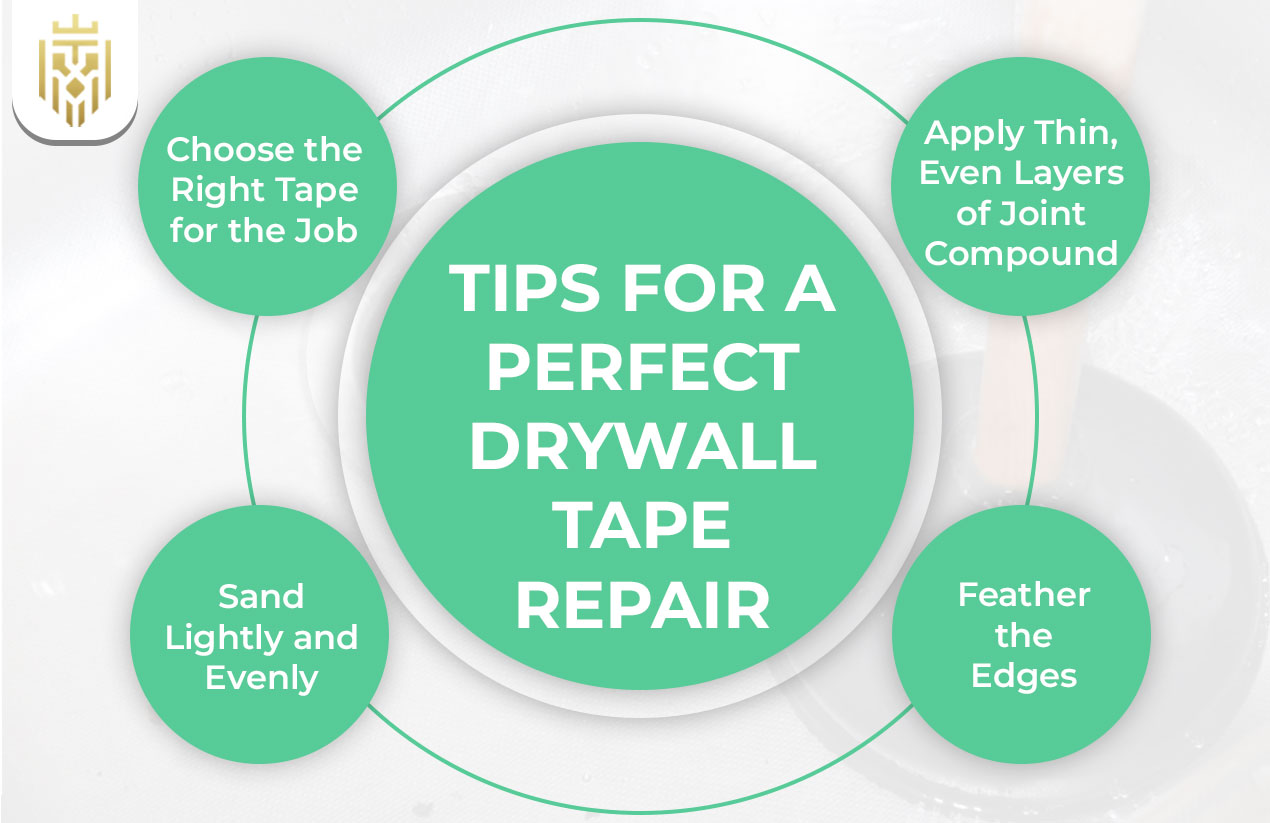
Small adjustments in your approach can make all the difference. Following a few best practices ensures the job looks seamless.
Choose the Right Tape for the Job
The type of tape you select will greatly impact the strength and durability of the repair. Paper tape is the best option for flat seams, while mesh tape is best for quick repairs. Reinforced tape, on the other hand, is best suited for corners.
Apply Thin, Even Layers of Joint Compound
While compound layers that are thick in appearance might give the impression that they cover more, they are far more difficult to smooth out and need a lot more time to dry. Thin layers can vastly improve the finishing.
Feather the Edges
Feathering every coat involves extending the tape outward so that the repair can smoothly transition to the nearby wall. This solves the problem of having visible patches or lines once the wall is painted.
Sand Lightly and Evenly
A light sanding protects the repaired area while providing gentle curves and contours that ensure the finished surface is smooth. Two different sections might need different materials, but light sanding working the same gives the surface a uniform finish.
FAQs
1) What Is Drywall Tape?
Drywall tape is a flexible material that is used for joining and finishing drywall panels. It is made from paper, fiberglass, or a combination of both. Used with joint compound, drywall tape conceals and strengthens the joints, creating a smooth, finished surface.
2) How To Repair Drywall Tape?
To fix drywall tape, take out the broken piece, prepare the area, put on some mud, stick on the tape, add a few finishing layers, and finish with some sanding to make it nice and smooth.
3) Why is drywall tape important?
Drywall tape helps to strengthen the joints, eliminate the chances of cracks, and build a seamless finish that can be painted on with no blemishes.
4) How to choose the right drywall tape for repair?
For normal joints, paper tape will do. As a beginner, mesh tape is easier to use and recommended, and for heavy duty and corner repairs, reinforced tape is the best.
5) How to repair drywall tape bubbles?
Remove the tape with the bubble on it, spread a new layer of mud, tape again and push firmly to get out any air and finish layers so no bubbles remain.