How to Tape and Mud Drywall?
Taping and mudding drywall refers to the finishing process of covering panel joints after the drywall panels have been hung. Mudding refers to applying joint compound or mud, cement, and finishing compound. The covering process includes multiple steps that require joint compound and drywall tape. While the steps can be complicated, the process is straightforward when broken down. Here are the steps to tape and mud drywall.
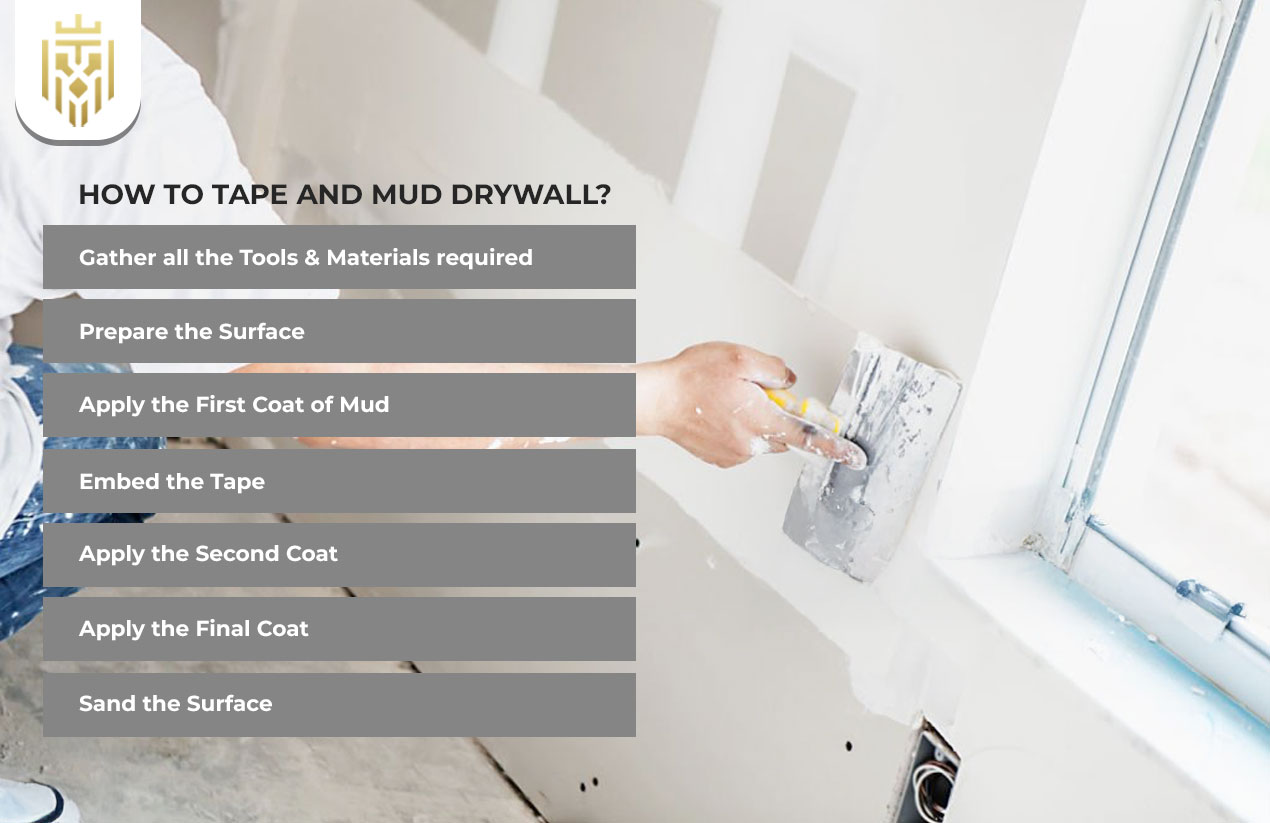
Gather all the tools & materials required
Ensure you have all the tools before beginning. You will need drywall tape, joint compound, a mud pan, taping knives of varying sizes, sanding tools, and a dust mask and goggles for safety. Having all tools on hand allows you to work smoothly.
Prepare the surface
An even finish depends on the preparation. Make sure the drywall area is free of dust, dirt, or any kind of grease. Make sure to trim any protruding screws and rough edges to make sure that the mud sticks properly.
Apply the First Coat of Mud
Use your taping knife to apply a thin coat of mud over the joints. There is no need for perfection, as this coat serves as a base for tape. Lightly covering the seams is essential, and mud should not be thickly layered.
Embed the Tape
Put the tape directly on the fresh mud, then gently press it with the knife to get out any air bubbles. Keep it smooth until it lies flat and sticks fully. This step strengthens the joint and stops any cracks in the future.
Apply the Second Coat
After the first coat has dried, apply a wider coat of mud over the tape. Make the edges thin so the compound gradually changes into the drywall surface. This coat hides the tape and adds strength and smoothness.
Apply the Final Coat
The final coat must be thin and even, extending a few inches beyond the second coat. It forms the seamless surface you’ll all see once the wall is painted. There must be no lines, so focus on smooth application.
Sand the Surface
Once the compound is dry, lightly sand the joints with fine-grit sandpaper or a sanding sponge. The purpose is to create a smooth finish and not to damage the tape. The right sanding is the preparation the wall needs before priming and painting.
Different Types of Drywall Tape
Drywall tape holds seams together and prevents cracks, and the right choice depends on the area and type of finish you want. Each option has unique strengths and works best in certain situations.
Paper Drywall Tape
Paper tape is the most preferred because it is inexpensive and durable. It is effective on straight seams and corners because of the center crease, although it needs to be embedded properly to prevent bubbles.
Fiberglass Mesh Tape
Precoated fiberglass mesh tape simplifies application onto drywall. Its open weave structure resists mold and mildew. It is especially useful in areas of high moisture.
Ultra-Thin Paperless Tape
In comparison to standard paper tape, ultra-thin tape is less prone to bubbling and is easier to blend with the wall surface. Its flexibility makes it an easy choice for swift and light-duty projects.
Metal-Reinforced Corner Tape
This tape is developed for corners and is two-part tape of paper and a tin strip for additional support. It is able to make sharp and crisp lines and is able to last in high-traffic areas. Contractors use this for inside and outside corners.
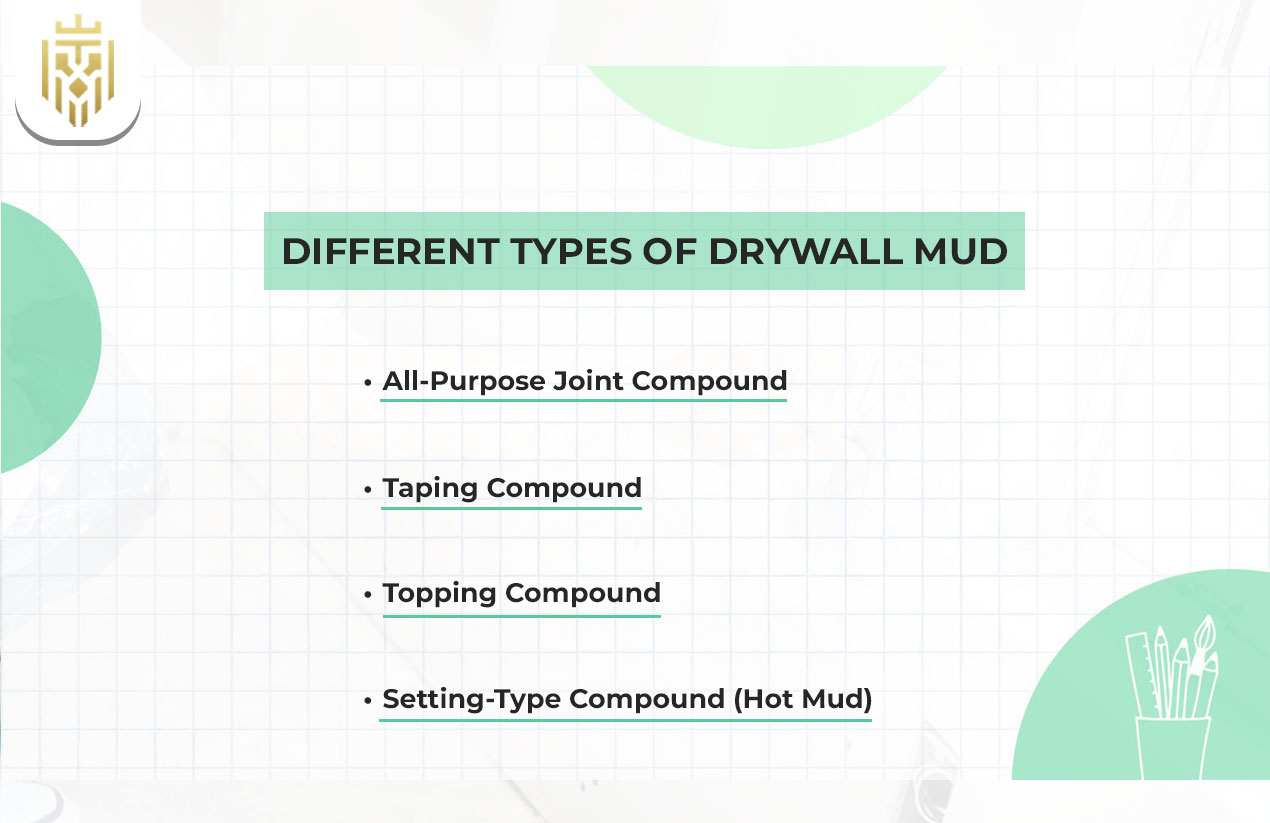
Different Types of Drywall Mud
Drywall mud, or joint compound, comes in different types, each made for specific purposes. Choosing the right one ensures strong joints and a polished finish.
All-Purpose Joint Compound
For those who are in the beginning stages of finishing, this type of mud will be the easiest for them to work with. Not only is it easy to spread and dry, but it is also quite simple to get.
Taping Compound
Compared to all-purpose mud, the taping compound is much stronger and is also created for a specific purpose: taping. Compared to other taping compounds, it shrinks less but is much harder to sand, which is why it is only used to be sanded to be used.
Topping Compound
Easier to coat and lighter, topping compound is perfect for the last coats. It is used to provide a smooth surface for either paint or wallpaper, but it is not strong enough to be used for taping.
Setting-Type Compound (Hot Mud)
Unlike air drying, setting-type mud dries through a chemical reaction. Because of the different setting times, it is commonly used for speedy tasks or wet areas. Even though it is a lot more difficult to sand, it is much more long-lasting.
Tips for Getting a Smooth Finish
Achieving a professional finish requires more than simply applying mud. Careful technique and attention to detail make all the difference in the outcome.
Maintain a Clean Knife
Your taping knife should be kept clean, as it prevents the formation of ridges and streaks. Also, it should be wiped frequently while applying mud to enable smoother coating layers.
Work in Thin Layers
Thin layers decrease the drying period whilst decreasing the chances of cracks forming and spreading. Gradually adding layers over time also aids in the formation of a more robust and even finish.
Feather the Edges Properly
Feathering blends mud onto the wall, creating a smooth transition. This is essential for joints, as they become almost unnoticeable after being painted.
Mistakes to Avoid When Taping and Mudding Drywall
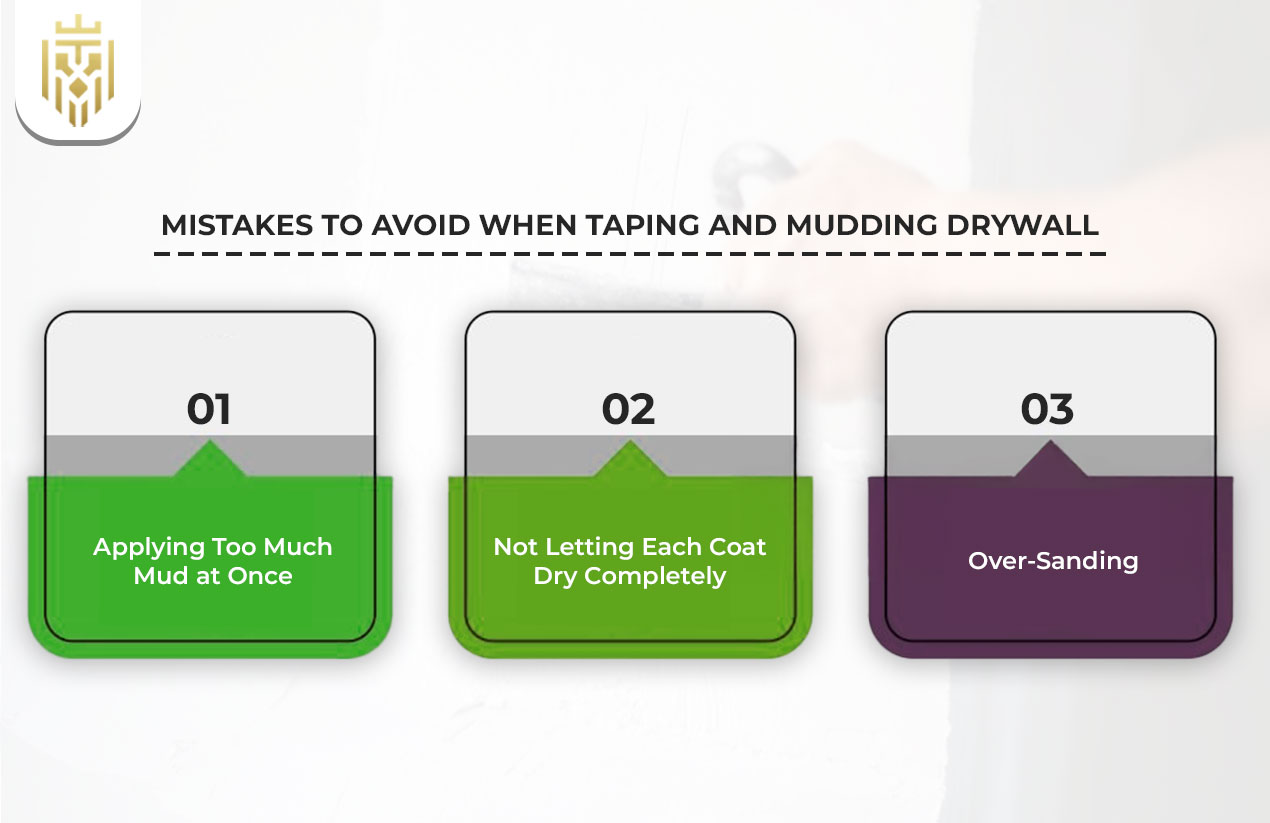
Avoiding common mistakes can save time and prevent the need for rework. Here are some errors to watch out for during the process.
Applying Too Much Mud at Once
An overly thick coat will lengthen drying time and make smoothing more difficult to achieve. A thick coat also elevates the chance of mud cracking.
Not Letting Each Coat Dry Completely
Hurrying between coats is likely to trap moisture and weaken the finish. Make certain the mud is completely dried before the next coat is applied.
Over-Sanding
Aggressive sanding can reveal the drywall tape or harm the surface. The best finish comes with light and deliberate sanding.
FAQs
1) How to Tape and Mud Drywall?
First, apply a base coat of mud and then embed the tape in it. Apply two additional coats, feather the edges for blending, and sand lightly to achieve a smooth finish.
2) What are the different types of drywall tape?
There are four types of drywall tape: paper tape, fiberglass mesh tape, ultra-thin paperless tape, and metal-reinforced corner tape.
3) What are the different types of drywall mud?
Drywall mud is primarily divided into four categories: all-purpose compound, taping compound, topping compound, and setting-type compound.
4) How to tape drywall?
Cover the seams with a light layer of mud. Place the tape on top and press down. Remove bubbles and reapply thin layers of mud.
5) How long to wait between coats of drywall mud?
Standard mud requires 12–24 hours, and setting-type compounds require less time, although this is variable depending on the conditions.
6) How to get a smooth finish on drywall seams?
To get the best finish, thin layers are applied, edges are feathered, and full drying is allowed before light sanding.